A Step-by-Step Guide to Starting Seeds Indoors
Spring is right around the corner, and now is the perfect time to get a head start on your garden by starting seeds indoors. Whether growing vegetables, herbs, or flowers, beginning your plants from seed allows you to choose from a wider variety of species, save money, and enjoy the rewarding process of nurturing young plants from the beginning.
If you're new to seed starting or want to improve your success rate, this Seed Starter 101 guide will teach you everything you need to know to prepare your plants for a flourishing spring garden.
The best time to start seeds depends on your last expected frost date and the specific needs of your plants. Most seeds should be started 6-8 weeks before the last frost. However, you can start them indoors.
1. When to Start Seeds
The best time to start seeds depends on your last expected frost date and the specific needs of your plants. Most seeds should be started 6-8 weeks before the last frost to give them a strong foundation before moving outdoors. However, you can start them indoors earlier to ensure they have enough time to develop.
2. What You’ll Need
Before you begin, gather the essential supplies to create an ideal environment for germination and early plant growth.
✔ Seeds – Opt for high-quality, organic, or heirloom seeds from reputable suppliers.
✔ Seed-Starting Mix – Use a light, well-draining mix (not regular potting soil, which can be too dense).
✔ Seed Trays or Containers – Any small container with drainage holes (egg cartons, recycled cups, or dedicated seed trays) will work.
✔ Humidity Dome or Plastic Wrap – Helps retain moisture while seeds germinate.
✔ Grow Lights or a Sunny Window – Most seedlings need 12-16 hours of light daily.
✔ Heating Mat (Optional) – Provides warmth for heat-loving plants like tomatoes and peppers.
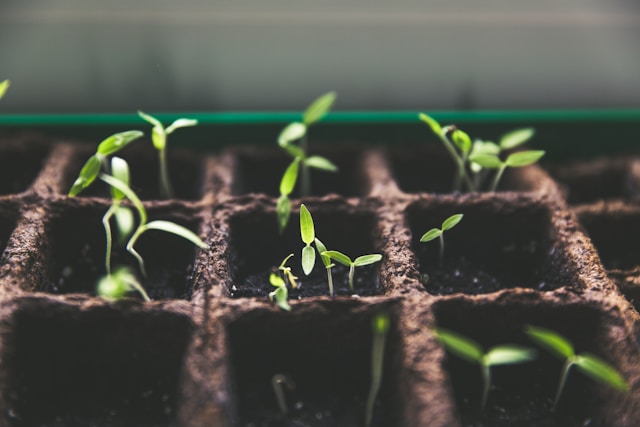
3. Step-by-Step Guide to Starting Seeds
Step 1: Prepare Containers
- Fill seed trays or small pots with moist seed-starting mix.
- Ensure containers have drainage holes to prevent waterlogging.
Step 2: Plant the Seeds
- Follow the depth recommendation on the seed packet (usually 2-3 times the seed's width).
- Plant 2-3 seeds per container and thin out weaker seedlings later.
Step 3: Provide Proper Light & Temperature
- Place seedlings in a warm location (65-75°F).
- If using grow lights, keep them 2-3 inches above seedlings and adjust as plants grow.
- Place seedlings in a south-facing window for 12-16 hours daily if using natural sunlight.
Step 4: Keep Soil Moist (But Not Soggy!)
- Use a spray bottle or bottom-watering method to keep soil evenly moist but not oversaturated.
- Cover trays with a humidity dome or plastic wrap until germination occurs, then remove it.
Step 5: Thin and Transplant Seedlings
- Once seedlings have two sets of true leaves, thin them by snipping weaker ones at the soil level.
- When outdoor temperatures are suitable, harden off seedlings by gradually introducing them to outdoor conditions over 7-10 days before transplanting.
5. Get Ready for Spring Planting!
- Once seedlings have two sets of true leaves, thin them by snipping weaker ones at the soil level.
- When outdoor temperatures are suitable, harden off seedlings by gradually introducing them to outdoor conditions over 7-10 days before transplanting.
Final Tip:
Keep a garden journal! Note which seed varieties performed well and any adjustments you'd like to make for next year.